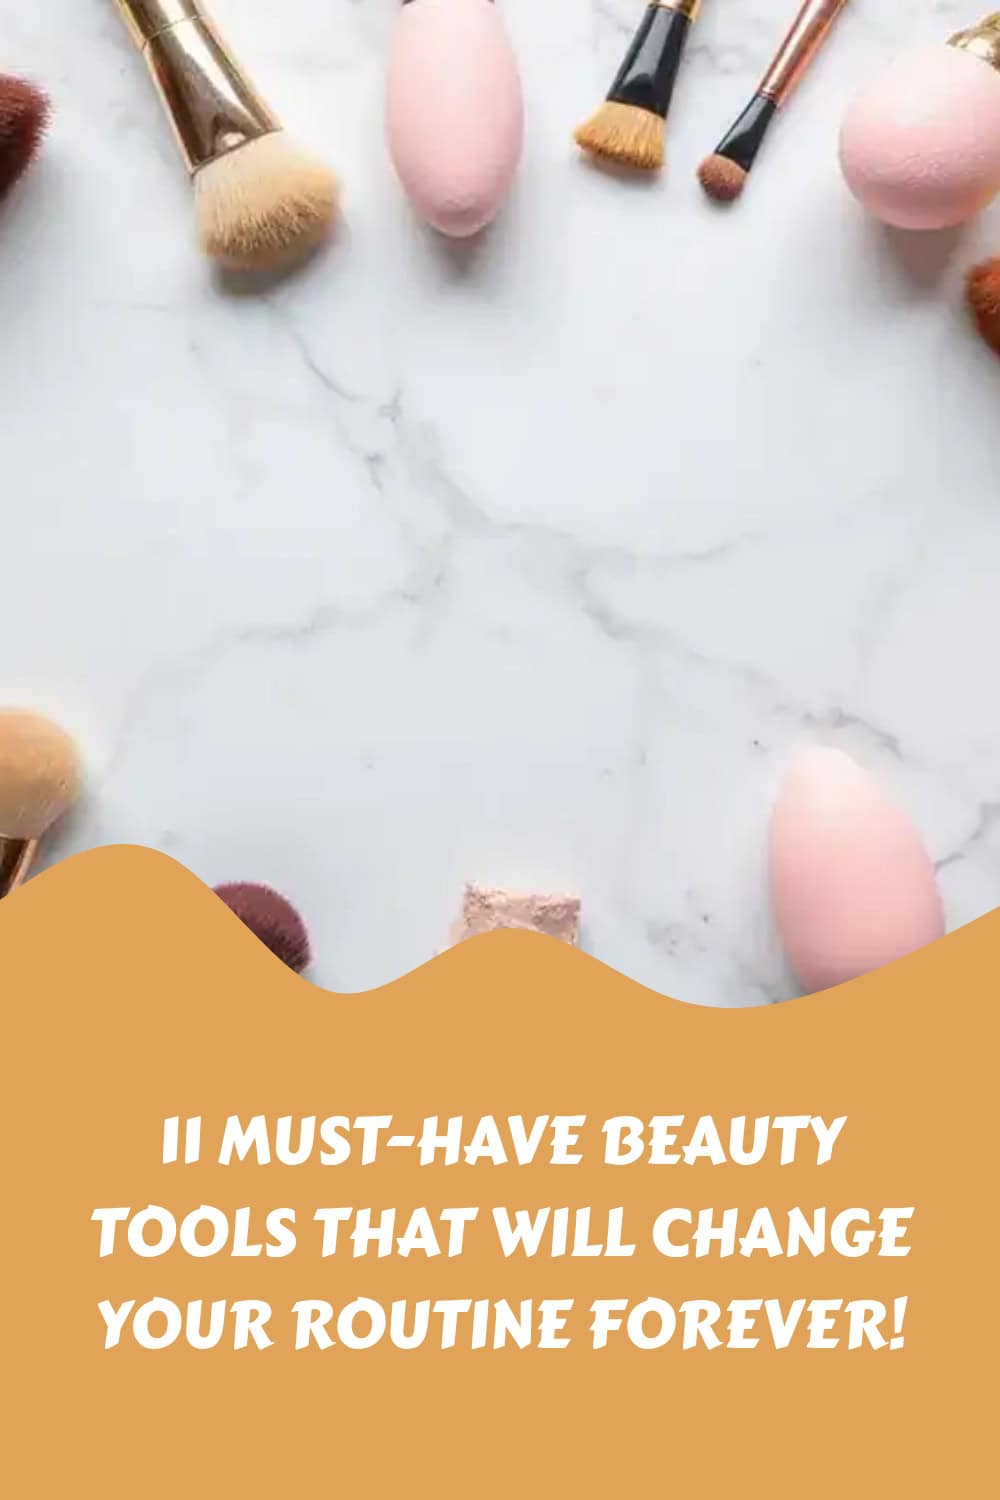
11 Must-Have Beauty Tools That Will Change Your Routine Forever!
These days I am obsessed with beauty tools that actually make routines faster and gentler. Here is why I made this post. I kept buying gadgets that promised miracles but delivered little. So I tested 11 tools that feel sturdy in hand, work well in real life, and actually improve results.
Who it’s for If you want faster mornings, less makeup guesswork, and skin that glows with less effort, this is for you. If you are new to tools or you already keep a drawer full of gadgets, you will find tips that fit your style and budget.
What you’ll get A clear list of 11 tools and the real reasons to love them. You will learn how to pick each tool by material, price, and how easy it is to clean. You will see practical uses you can try tomorrow, like a gentle cleansing brush in your shower routine. And you will get quick, no fluff buying tips that save you time and money.
Let’s break it down with simple steps you can apply today. These notes walk you through using tools in real life, not just in a catalog. You will see examples like using a facial cleansing brush before serums, or using a jade roller after to calm skin. Imagine the cool touch of silicone bristles and the way a metal tool rolls over your skin on a hot morning.
Tools do help, but they won’t fix bad sleep, poor diet, or a harsh cleanser. Be honest about what your skin needs and set real expectations. This post focuses on practical, doable steps that fit a busy life.
Next steps: pick one or two tools that speak to your routine and try them this week. Keep expectations real and give yourself time to adjust. When you’re ready, come back for more tips as your collection grows.
1. Makeup Brush Set
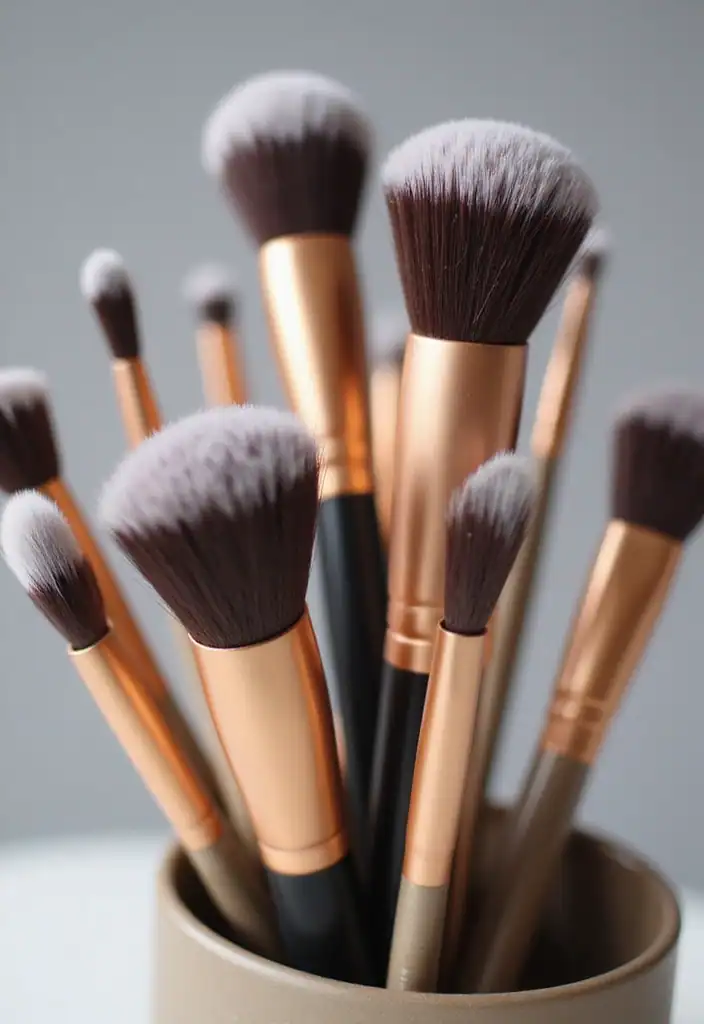
If your makeup look isn’t as smooth as you want, the problem might be your brushes. A good makeup brush set changes how your makeup sits on your skin.
Here is why it matters. The right tools give you more control. They help you blend edges so everything looks seamless. They also lift your finish so it looks polished, not patchy.
What to look for in a makeup brush set
- Foundation brush for even coverage
-
Blending brush to merge colors softly
-
Contour brush to shape with light lines
-
Concealer brush for precise spots
-
Powder brush for a natural finish
Materials and how to use them
- Synthetic brushes work well with liquids and creams. They’re easy to clean.
-
Natural bristles pick up powder for a soft, diffused look. They feel nice on the skin.
Care and maintenance
- Clean brushes regularly to keep them fresh and avoid breakouts.
-
Wash with mild soap and warm water, then lay flat to dry.
-
Store upright in a holder so bristles keep their shape.
Next steps: pick a balanced set, learn a few quick brush strokes, and practice daily. With the right tools, you’ll apply makeup more easily and confidently.
Practice for a week, and you will notice the difference.
1. Makeup Brush Set
Editor’s Choice

BS-MALL Makeup Brush Set 18 Pcs Premium Synthetic Foundation Powder Conc…

Natural Goat Hair Makeup Brush Set with Case, Natural Makeup Brushes, Na…

EcoTools Makeup Brush Cleansing Pad + Deep Clean Shampoo Bundle, Brush C…
2. Beauty Sponge

Is your makeup not blending like you want? You seek a smooth, long lasting finish. The beauty sponge can give you that with the right technique. This small tool feels cool and soft in your hand. When it is damp, it blends foundation and concealer with a light bounce, leaving skin with a natural, airbrushed look.
What the beauty sponge does
- It evenly distributes cream and liquid products by lifting excess as you tap.
-
It helps foundation melt into skin for a seamless, lasting finish.
-
It works for cream blush, highlighter, and even setting creams.
How to use it
- Wet the sponge under running water until it grows in size. Squeeze out the extra water until just damp.
-
Dot product on your face. Tap with the sponge in small circles.
-
Use short, quick bounces to blend. Build coverage slowly.
Care and longevity
- Rinse after each use and wash with a mild soap.
-
Rinse out all soap, then squeeze dry.
-
Let it air dry on a clean surface. Replace every few months.
Tips for best results
- Use damp for a dewy look, or go drier for more control.
-
Pick a latex-free, quality sponge that fits your hand.
-
Pair with cream blush and highlighter for a cohesive glow.
-
For tricky spots like around the nose or under the eyes, use the tip of the sponge.
A beauty sponge can be your best friend! With just a little dampness and the right technique, you can achieve that smooth, airbrushed finish that turns heads and boosts confidence.
2. Beauty Sponge
Editor’s Choice

AOA Studio Collection makeup Sponge Set Latex Free and High-definition S…

PHOERA Foundation,Full Coverage Foundation,PHOERA Primer,PHOERA Powder,P…
3. Facial Roller
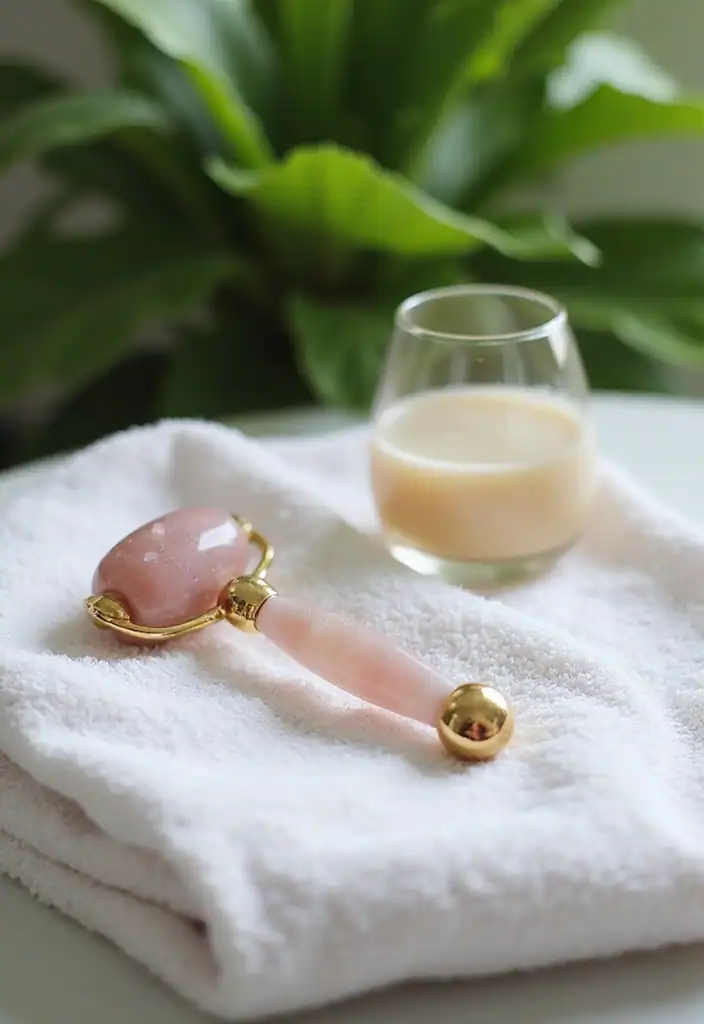
If your skin looks puffy or tired, a facial roller can wake it up fast. This small tool uses cool stones to calm swelling and lift your cheeks, forehead, and jawline. Jade and rose quartz are the top picks. The chill and roll bring a soft glow.
A massage moves fluids away from the face and nudges blood flow toward the surface. Your skin looks fresher and feels relaxed. It also makes your skincare feel like a quick spa moment.
- Always roll from the center of your face outward toward the ears. Light pressure, and let the tool do the work.
-
Use after serums or moisturizers to help them sink in.
-
Use the small end around the eyes. Be gentle and avoid pulling.
-
For cooling, chill the roller in the fridge 10-15 minutes.
-
After you finish, wipe clean and store in a cool place or pouch.
-
Clean the roller weekly with mild soap and water, then dry fully.
Benefits you can feel: less puffiness, a touch more circulation, and a brighter look.
Reality check: it won’t fix big concerns overnight. Pair it with good sleep and water.
Next steps: add 2-3 minutes of rolling to your routine, a few mornings or evenings per week.
3. Facial Roller
Editor’s Choice

BAIMEI IcyMe Gua Sha & Jade Roller Facial Tools Face Roller and Gua Sha …

BAIMEI Jade Roller & Gua Sha, Face Roller, Facial Beauty Roller Skin Car…
BAIMEI Jade Roller & Gua Sha, Face Roller, Facial Beauty Roller Skin Car…
4. Eyelash Curler

Your eyes can look brighter and more awake with one simple tool – the eyelash curler.
It lifts your lashes, making them look longer and fuller. A quick curl before mascara opens your gaze. This small tool works magic when you want a wide-eyed look without fake lashes.
What to look for
Choose a curler with a soft cushion pad. A silicone pad protects your lashes from pinching and breaking. Pick metal or plastic handles with a gentle grip and a pad that stays smooth. If you’re new, pick a basic curler with replaceable pads.
How to use it
Here is why curling first matters. Always curl before applying mascara to prevent smears.
- Curl the lashes at the base and hold for a few seconds, to lift the root.
-
For more lift at the ends, gently wiggle the curler as you press.
-
If you want a stronger curve, warm the curler a touch with a hairdryer on low heat, then test it on your wrist first.
-
Clean the curler after use and dry it. A clean tool lasts longer.
Next steps
- Keep the pads fresh and swap them when they look worn.
-
Store the curler in a clean place away from moisture.
-
With practice, your lashes stay soft and curled without pain.
4. Eyelash Curler
Editor’s Choice

Tweezerman Classic Eyelash Curler Model No. 1034-R, Stainless Steel

80 pcs Curler Refills Eyelash Curler Refill Pads Silicone Rubber Curler …

2025 C-Shaped Heated Eyelash Curler Fast Heat Up in 5s – Rechargeable El…
5. Tweezers
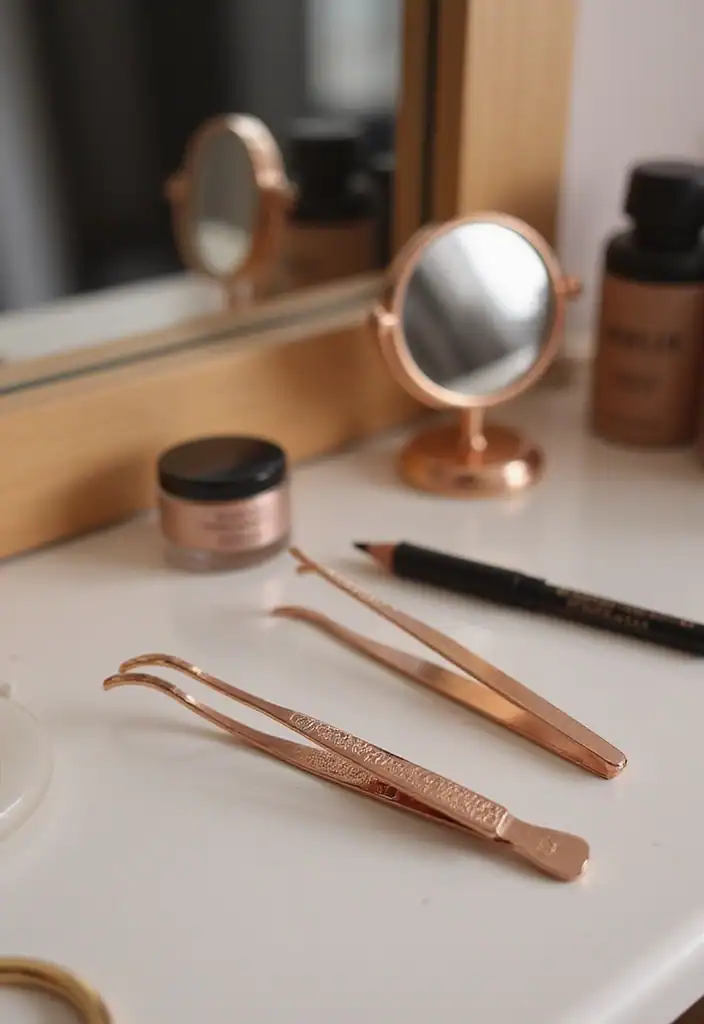
Stray brow hairs can ruin a clean look. You need a reliable pair of tweezers to fix them fast. A good pluck gives your brows shape and your face a fresh edge.
What to look for
- Stainless steel that won’t rust and cleans easy.
-
A slanted tip for easy, precise trimming along the brow line.
-
A pointed tip for grabbing tiny, stubborn hairs.
-
Tight alignment between blades and a snug grip when you squeeze.
-
Comfortable spring tension that’s not too stiff.
These traits help you pull hair cleanly without pinching skin.
Common mistakes
- Plucking against growth hurts and can leave red bumps.
-
Grabbing more than one hair at once causes gaps.
-
Rushing in poor light makes brows uneven.
How to use them
- Start with clean hands and a clean face. Wipe the tips first.
-
Pluck hair in the direction it grows. This lowers pain and stops breakage.
-
Stretch the skin lightly with your other hand to expose the hair.
-
Grab the hair close to the skin and lift gently. Don’t yank.
-
Work in small spots, then check your shape in good light or a magnifying mirror.
Care and tips
- After use, clean the tips with alcohol and dry them well.
-
Store in a small case to stay aligned and rust-free.
-
If a hair breaks, switch to a new pair. Dull tips pull instead of grab.
Quick routine
- Wash your face and dry it well.
-
Note any sparse hairs, then pluck one by one.
-
Recheck your brow shape in bright light.
With the right tweezers, your brows stay neat and balanced. A tiny tool, a big difference.
5. Tweezers
Editor’s Choice

Tweezerman Stainless Steel Slant Tweezer – Eyebrow Tweezers for Women an…

Pointed Tweezers | High Carbon Stainless Steel Needle Nose | Fine Point …

2 Packs Professional Tweezers Storage Case, Tweezers Organizer Eyelash E…
6. Nail Clipper and File Set

Tancy nails pull your whole look together. A solid nail clipper and file set makes that easy. You’ll trim cleanly, shape smoothly, and save trips to the shop.
What you need
- Stainless steel nail clipper with a sharp jaw that won’t bend or chip nails.
-
Glass or ceramic nail file for even, gentle edges.
-
A small brush or cloth to knock off clippings and a touch of nail oil for the cuticles.
How to use
After a shower, nails are softer. That’s your best time to clip. Clip straight across to keep edges even. If you want a rounded corner, trim a little at each side. File only in one direction to avoid splits. Finish with a soft push of cuticle oil for a neat look. A quick wipe keeps tools ready for next time.
Care and upkeep
Rinse after use and dry well. Wipe the clipper’s hinge to keep it smooth. Store tools in a case to protect edges. Oil the hinge every few weeks so it opens with ease. If the file starts to snag, replace it. Quick maintenance means you’ll reach for your kit more often.
Your simple at‑home routine
Set aside five minutes once a week. Clip, shape, and moisturize. You’ll notice nails look healthier and nails break less often. It’s a small habit with a big payoff.
Great nails don’t happen by chance; they happen by using the right must-have beauty tools! Trim, shape, and shine your way to a polished look at home.
6. Nail Clipper and File Set
Editor’s Choice

Nail Clipper Set,Premium Stainless Steel Fingernail and Toenail Clipper …

Bona Fide Beauty Czech Glass Nail Files for Natural Nails (Clear) – 1Pc …

Cuccio Naturale Revitalizing- Hydrating Oil For Repaired Cuticles Overni…
7. Hair Dryer with Attachments
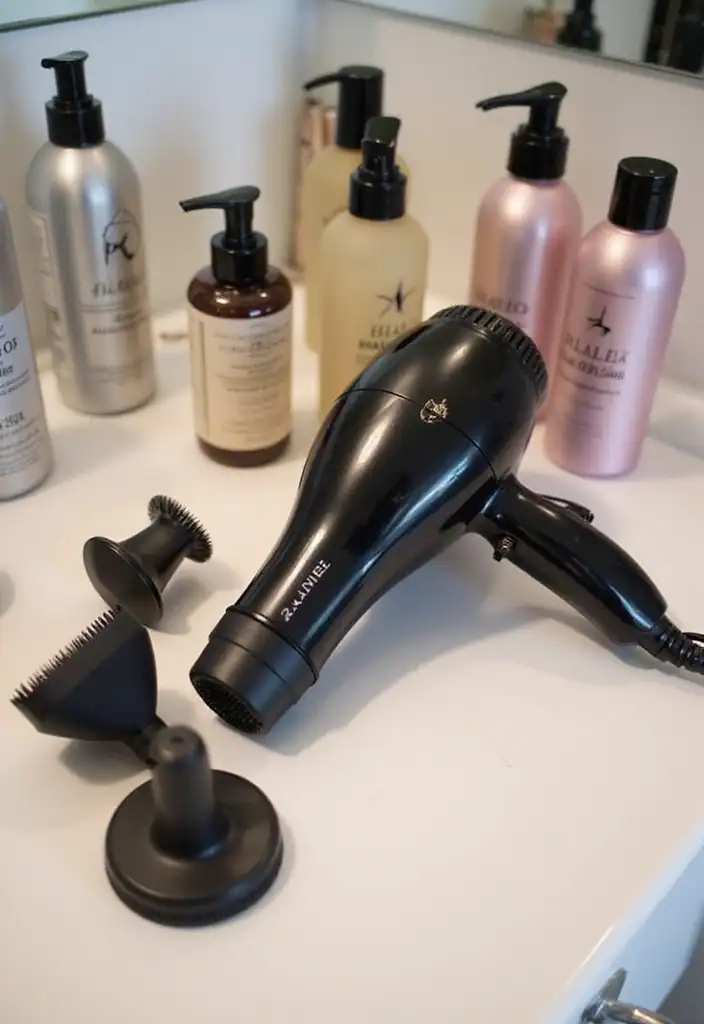
Do you want salon shine at home without a long routine? A good hair dryer with the right attachments can change how you dry your hair.
What to look for
- Pick a dryer that comes with at least two attachments: a diffuser and a concentrator. The diffuser adds body; the concentrator helps you shape and smooth.
-
Check for a cool shot button. You can seal your style with a burst of cool air.
-
Choose a lighter model if you want less strain on your wrist.
-
Look for a proper nozzle and a strong but quiet motor. Quiet air is nicer to work with.
How to blow-dry well
- Always apply a heat protectant before drying. It shields strands from heat.
-
Section your hair. Small parts dry more evenly.
-
Start at low heat and speed. Move slowly from root to tip.
-
Use the diffuser for waves and texture. Let the air meet your curls or loose sections softly.
-
Switch to the concentrator for smooth, straight looks. Glide the nozzle along each strand.
-
Finish with a cool burst. It helps lock in the shape and adds shine.
-
If you need extra lift, dry the crown last with a light lift of air.
Care and tips
Clean the filter regularly. A clean dryer works better and lasts longer.
Practice makes you faster. Try different attachments to see what suits your hair best.
Transform your hair game with the right hair dryer! A good dryer with attachments can give you salon shine and save you time in your routine.
7. Hair Dryer with Attachments
Editor’s Choice

REVLON Infrared Hair Dryer with Diffuser – Ionic Blow Dryer, Diffuser, a…

CHI 44 Iron Guard Thermal Protection Spray, Nourishing Formula Helps Res…
8. Jade Gua Sha Tool
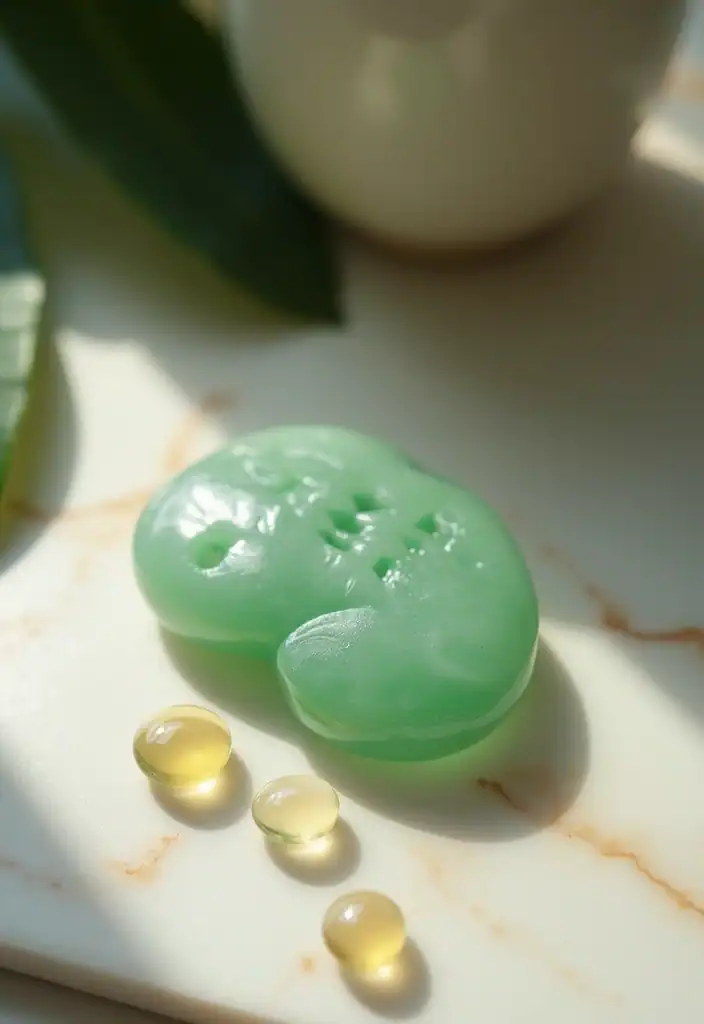
Here is why you want a Jade Gua Sha tool. It’s not a pretty stone. It helps boost circulation, drainage, and lift your skin, without surgery. Feel a cool touch and smooth glide as you work.
What it does
- Facial massage that relaxes tense muscles.
-
Lymphatic drainage that helps reduce puffiness.
-
Better blood flow for a glow.
-
A subtle lift over time with steady use.
How to use
- Start with clean skin and a few drops of serum or oil so the tool slides easily.
-
Hold the tool at a comfortable angle. Glide from the center of your face outward.
-
Use gentle pressure along the jaw, cheekbones, and brow bones. Don’t rush.
-
For extra lift, make small upward sweeps along the neck and under the chin.
-
Use it 3 times a week for best results. Pair with your skincare routine.
Care and tips
- Rinse after use and dry well. Store in a dry place.
-
Keep it cool on your skin to feel the easing of tension.
-
Jade is a natural material; each piece is unique.
-
Clean with a soft cloth after use.
Next steps
- Try it with your favorite facial oil and note changes in texture and glow.
8. Jade Gua Sha Tool
Editor’s Choice
BAIMEI IcyMe Gua Sha & Jade Roller Facial Tools Face Roller and Gua Sha …

The Ordinary 100% Organic Cold-Pressed Rose Hip Seed Oil, Addresses Sign…

MOONQUEEN Microfiber Facial Cloths Fast Drying Washcloth 12 Pack – Premi…
9. Pore Vacuum
If you want pores that look cleaner, the pore vacuum might be your quick helper. It pulls out blackheads and tiny debris so your skin feels smoother. Use it carefully to avoid irritation.
- Cleanse first. A warm rinse or gentle steam opens pores and makes the tool work better.
-
Start low. Test on a small area, then glide the head across the skin in slow, overlapping moves.
-
Target only problem spots. Don’t spend too long on any one patch.
After you finish, cool the skin with a soothing toner and follow with a light moisturizer. If you’re out in the sun, finish with sunscreen.
- Choose the right head. Silicone cups tend to be gentler for sensitive or dry skin. Some devices come with brush heads or larger cups for bigger areas.
-
Clean and store. Rinse the head with warm water, soap, and let it air dry.
How often? Try 1 to 2 sessions a week. If you see redness or sharp sting, pause use and let skin calm.
What to expect? It helps remove surface gunk and reduces the look of pores, but it won’t erase every pore in one pass.
Next steps. Pair with daily cleansing, light exfoliation, and a calm mask to support your skin between sessions.
9. Pore Vacuum
Editor’s Choice

2025 Pore Vacuum, USB Rechargeable Blackhead Remover Vacuum,3 Levels Adj…
2025 Pore Vacuum, USB Rechargeable Blackhead Remover Vacuum,3 Levels Adj…

Anua Heartleaf 77 Soothing Toner I pH 5.5 Trouble Care, Calming Skin, Re…
10. Thermal Hair Brush

Here is why you need a thermal hair brush. It dries your hair and styles it in one step. That saves time and gives a smooth, shiny look. Let’s break it down.
What to look for
- Ceramic elements for even heat and fewer hot spots.
-
A built-in dryer with 2–3 heat settings for different hair.
-
Bristles that grip without snagging.
-
A light, comfy handle you can move quickly.
How to use it
1) Start with towel-dried hair and a heat protectant.
2) Section hair into small parts.
3) Place the brush near the roots, glide down, and twist for a curl or pull straight for smoothness.
4) Use a lower temp for fine hair; raise it for thick hair.
5) Finish with a cool shot to set the style.
Tips for best results
- Work in small sections and go slow.
-
Move the brush steadily, not in a hurry.
-
Let hair dry a bit between passes.
-
Clean the brush after use to remove hair and product.
-
Pause at the crown and roll outward for extra lift.
Care and limits
- Great for most hair types, but very tight curls may need extra passes or a curling iron.
-
Always apply heat protection.
Next steps: try it in your daily routine and see how your styling time drops. Give it a try tonight and see the difference.
10. Thermal Hair Brush
Editor’s Choice

REVLON One-Step Hair Dryer and Styler, All-in-One Detangling and Straigh…

Hot Tools Pro Artist Hot Air Styling Brush | Style, Curl and Touch Ups (…

DAILYLIFE Rotating Hair Dryer Brush, Hot Air Brush with 2 Brushes (1.5″ …
11. LED Makeup Mirror

Struggling to apply makeup in poor light? An LED makeup mirror can fix that.
With bright, adjustable lighting, you see colors true and lines fade away. The light mimics natural daylight so your blush, shadow, and lip shade look right in real life. Some mirrors add magnification for careful work like shaping brows.
Here is why it matters:
- Brightness and color options. Choose a mirror with several brightness levels and a warm-to-cool range. You can match the room light or daylight.
-
Solid base. A sturdy stand stops wobbling when you lean in.
-
Flexible viewing. Look straight on. Tilt up. Turn to the side for a full-face view.
-
Magnification. For close work. Pick a model with 5x or 10x magnification.
-
Power and size. Think about plug-in or USB power. Choose a size that fits your vanity.
Next steps. Use it every time you do makeup to train your eye for color and balance.
How to use it:
Set brightness to daytime level. Place the mirror at eye level. Move it to catch light from a window or lamp. Step back and check from different angles. Clean the glass weekly for a clear reflection.
Illuminate your beauty routine! An LED makeup mirror can make all the difference, letting you see your colors true and lines fade away. Bright lighting is your secret weapon for a flawless look!
11. LED Makeup Mirror
Editor’s Choice

Vanity Mirror with Lights, 12.6″×15″ LED Makeup Mirror, Lighted Makeup M…

Lighted Makeup Mirror, 3000 mAh Rechargeable Double Sided Magnifying Van…

FUNTOUCH Rechargeable Travel Makeup Mirror with 72 Led Lights, Portable …
Conclusion

Incorporating these 11 must-have beauty tools into your routine can truly change the game for you!
Each tool offers unique benefits that can elevate your beauty game, making your routines not just easier, but also more enjoyable.
Time to gather your favorites and watch your beauty regime transform!
Note: We aim to provide accurate product links, but some may occasionally expire or become unavailable. If this happens, please search directly on Amazon for the product or a suitable alternative.
This post contains Amazon affiliate links, meaning I may earn a small commission if you purchase through my links, at no extra cost to you.